Discover the Best Cleaning Services in Winnipeg for a Fresh Home
Wiki Article
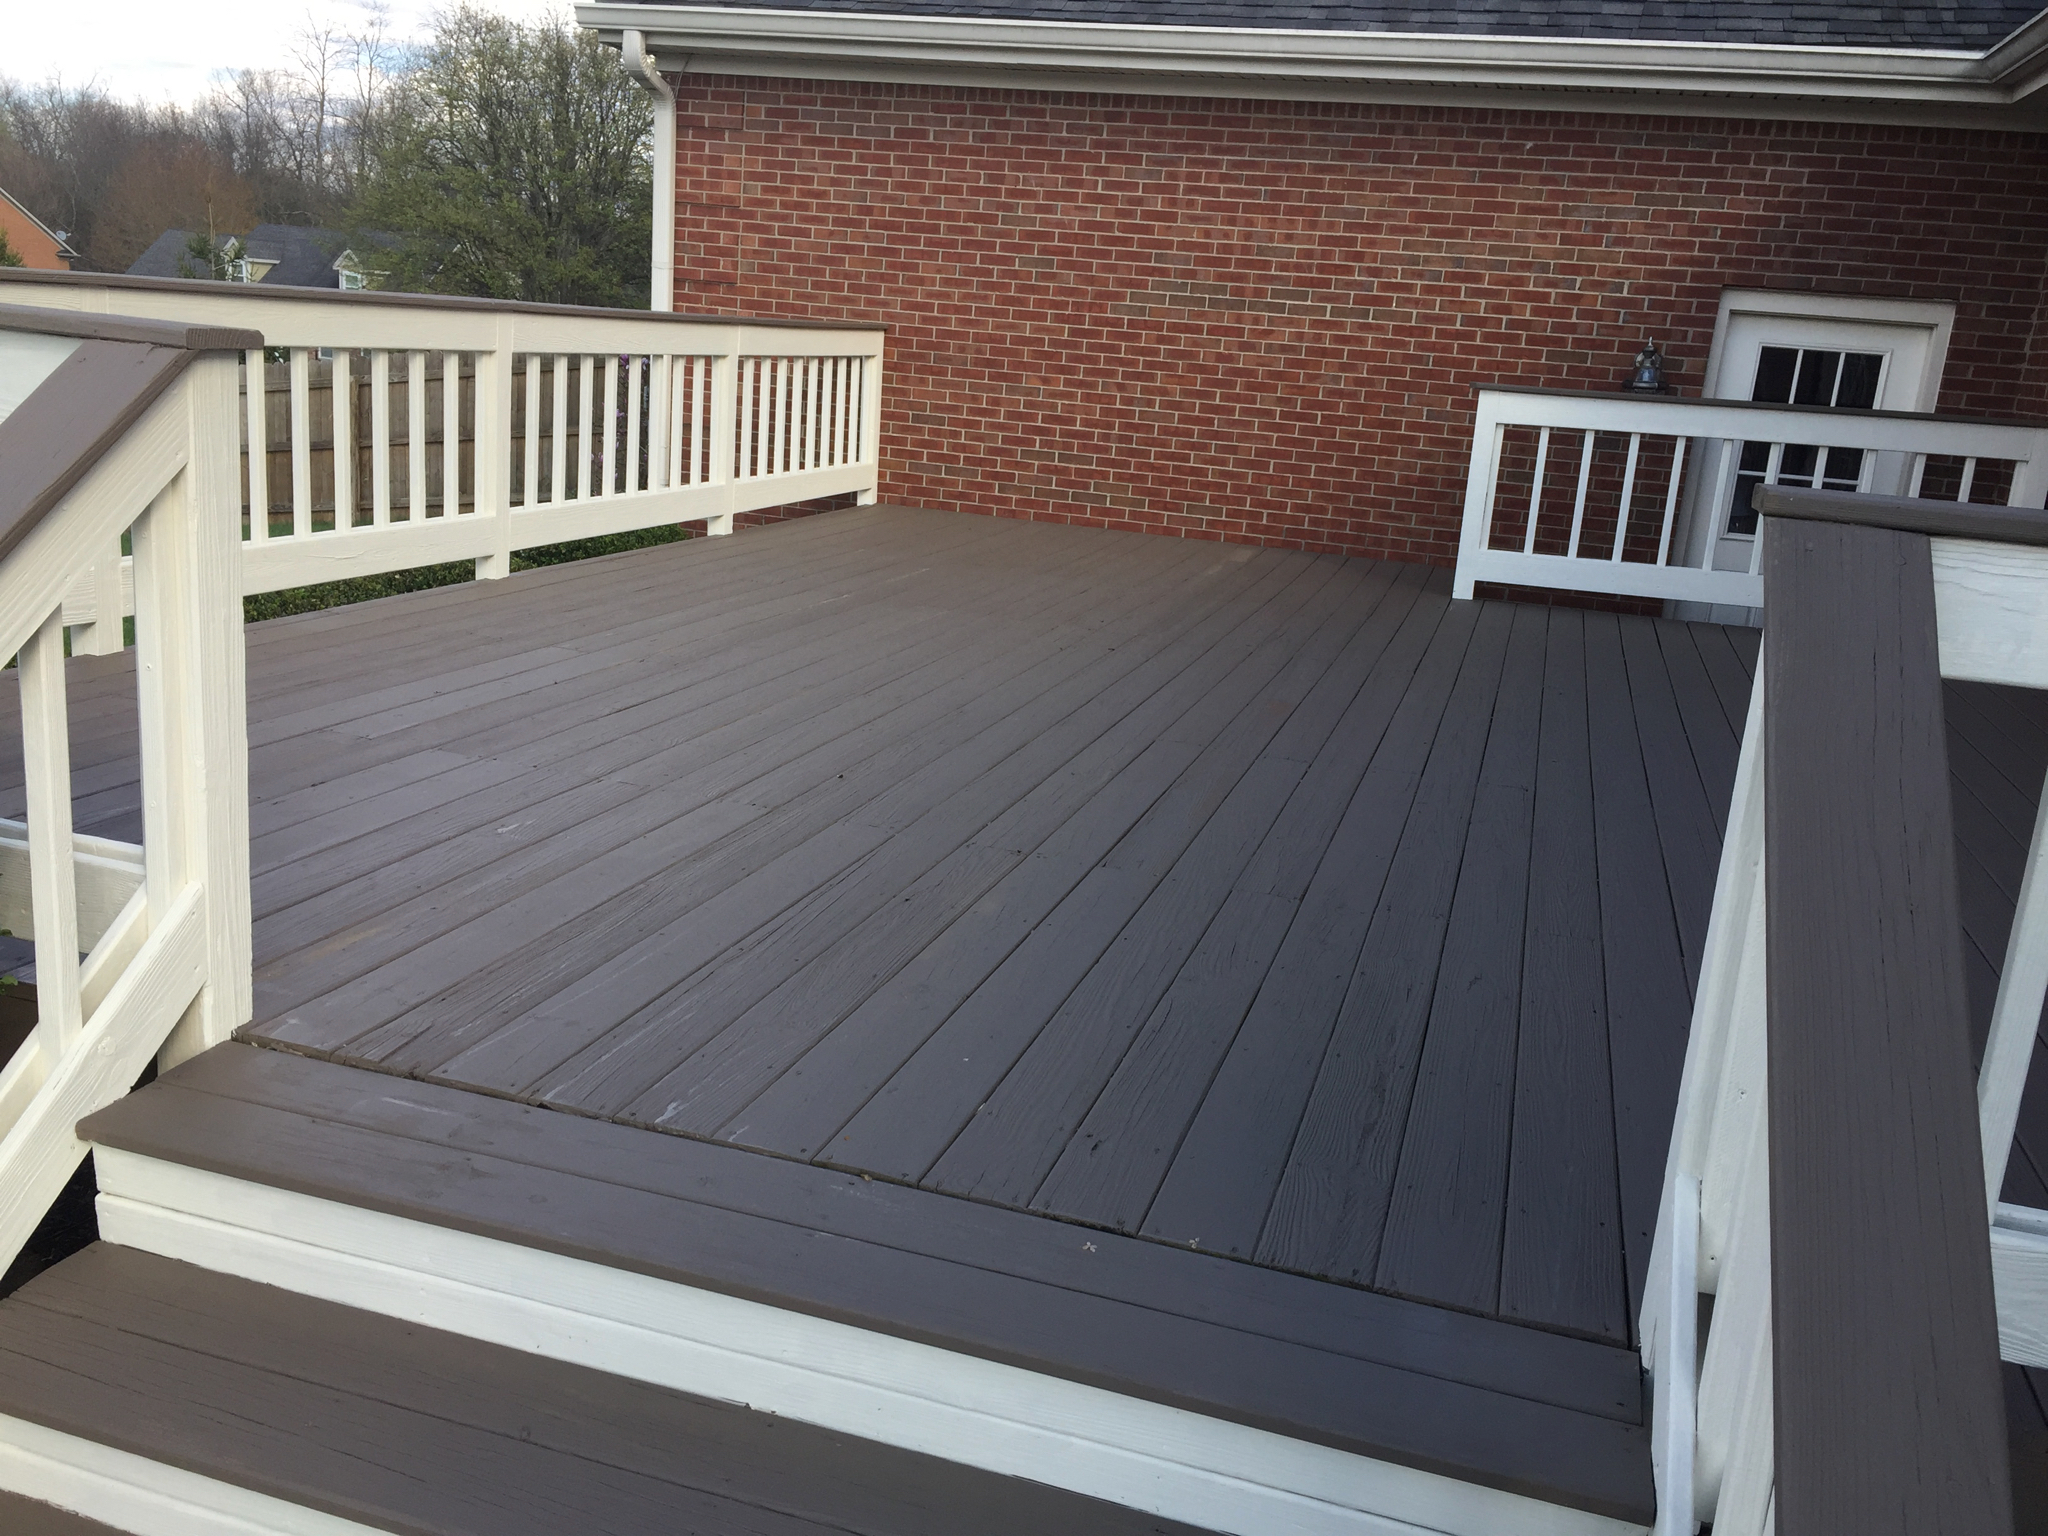
Deck Discoloration Made Easy: Step-by-Step Guide for DIY Lovers
Are you a Do it yourself fanatic looking to provide your deck a fresh brand-new look? In this step-by-step guide, we will walk you through the procedure of deck staining. With our easy-to-follow directions, you'll be able to change your deck into a stunning outside room in no time.Preparing the Deck Surface
Before you begin discoloring the deck, ensure you're correctly cleaning and also sanding the surface. This action is essential in guaranteeing a smooth as well as durable surface. Begin by eliminating any type of furniture or plants from the deck. Brush up away any loosened dirt or debris using a mop. Use a power washing machine or a hose pipe with a high-pressure nozzle to extensively cleanse the deck. Pay very close attention to locations with persistent discolorations or mold and mildew, and also make use of a deck cleaner or a mixture of warm water and light detergent to treat them. After cleansing, enable the deck to completely dry completely for at the very least 24-hour.As soon as the deck is dry, it's time to sand the surface. Grab a handheld orbital sander or a fining sand block, as well as start sanding the deck boards in the direction of the timber grain.
Selecting the Right Stain
When selecting the ideal stain, you'll wish to consider the kind of wood you're working with. Various kinds of timber have different attributes that can impact exactly how well they absorb the discolor. Softwoods, like ache or cedar, often tend to absorb tarnish quicker than woods, such as oak or mahogany. Keep this in mind when picking your stain to ensure you accomplish the desired finish.Discolorations come in a variety of shades, from light to dark, as well as can drastically change the appearance of your deck. If you're looking to enhance the natural color of the timber, select a clear or semi-transparent tarnish.
Finally, believe concerning the degree of security you desire for your deck. Stains with higher levels of pigment often tend to offer better defense against UV rays and also dampness. If your deck is exposed to severe climate problems, it's worth purchasing a discolor with included safety qualities.
Cleansing and also Fixing the Deck

Applying the Stain

Completing Touches and Upkeep Tips
After applying the last layer of discolor, it's essential to frequently tidy and check these guys out secure your deck to preserve its appeal and also safeguard it from the elements. Choose a top notch sealant that is particularly made for decks and also apply it according to the supplier's instructions. It's advised to use a brand-new layer of sealant every 1-2 years to maintain your deck looking its finest.
Verdict
Report this wiki page